
If you are not yet familiar with every part of the eXposer user interface, turn on Bubble Help in the Help Menu of the main window. This will be a great help in getting to know the program.
Mostly you will work in the main window. The underlying principle of eXposer is a separation of media source files and x-sheet entries. The x-sheet window consists of three main parts: X-Sheet, Preview and Source Media. You can create an x-sheet in two ways:
To make an x-sheet if single frames are already on your hard disk:
First, you have to load the files into eXposer that you want to put into the x-sheet. Open the folder containing the files in the Tracker (the BeOS counterpart of the Windows Explorer or MacOS Finder) and drag the files into the appropriate list Frames or Sounds.
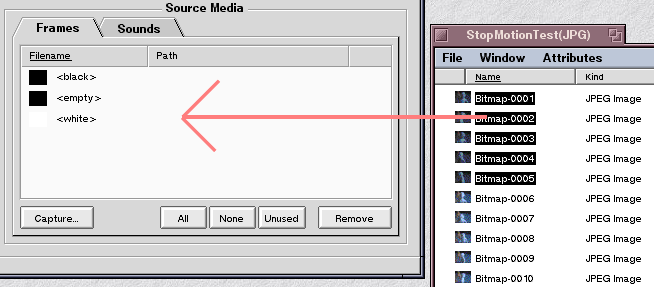
eXposer will load sound or image files and puts them into the according list no matter into which list you've dropped your files.
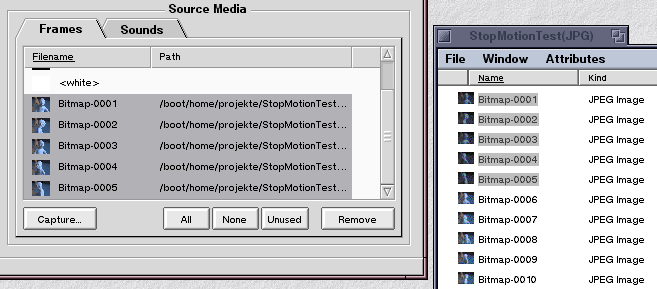
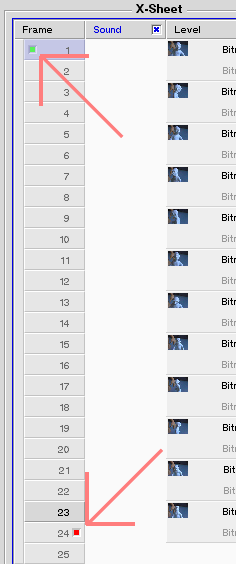
As soon as your files appear, you can drag them into the x-sheet and drop them onto the right kind of level. A red mark will indicate the drop position. If you don't see a red mark even if you're dragging above the right kind of level, that probably means the mark is showing in a portion of the x-sheet which is currently scrolled out of the visible region.
|
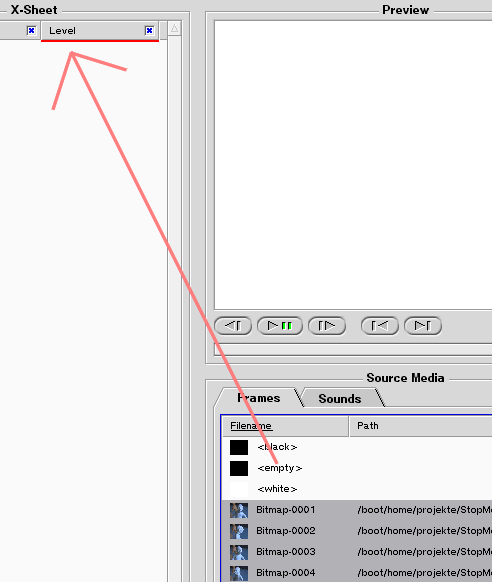
In an empty x-sheet, you'll see two levels by default - one for frames and one for sound. You can either drag source files into an already existing level, or you can drag files into the empty part of the x-sheet and a new level of the right type will be created for you. In the menu Level you can explicitly create new levels or remove the currently selected level (displayed darker). |
|
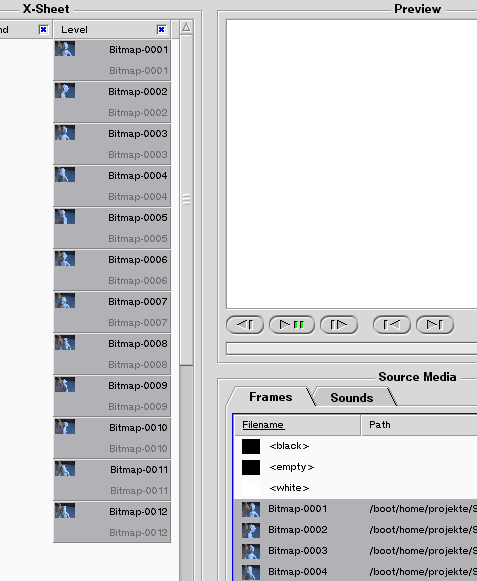
The source media has been inserted into the x-sheet at the drop mark. |
To make an x-sheet of an animation that you need to digitize:
At the bottom of the list for source file images, there is the Capture button, which will start the module for capturing frames from your computers video-in. This is just like "Digitizer" in Take_2. If you have more than one x-sheet opened, you can still only launch capturing once, since it is connected to your video hardware, which can only be used once at a time. Capturing consists of one window where you mainly see the video signal of your camera plus a few controls :-). In the menu item Video->Preferences opens the settings panel for your capturing device. There you can choose the input jack or alter the brightness of the video for example. To capture frames to your disk, put a valid directory into the input field Directory and put a filename into the field below. Place a number in that name somewhere and eXposer will count that number up as many steps as you supplied in Steps. The rightmost number will be counted up. So scene01-frame0001 will become scene01-frame0002 after you captured the first frame. The frame will appear immediatly in the source file (image) list of the x-sheet from where you launched capturing. So from there you can work exactly as described above and drag the frames into the x-sheet levels.
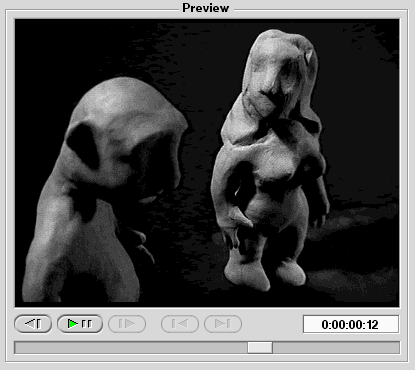
To play the animation:
|
|
Working with the X-Sheet:
The concept of the x-sheet is very easy. You work with individual drawings of animation or pieces of sound that have a certain duration (in frames). To alter the duration of any item in the x-sheet, just point your cursor at the lower end of that item so that it changes into up/down arrows. Now click and drag to alter the duration. If you want to change the beginning of an item, simply alter the duration of the preceeding item.
You can also use the right mouse button to change the duration of items, in this case, it isn't even neccessary to point at its bottom. Just right-click anywhere into an item to drag its duration.
Of course you can do other things to the items in your x-sheet. If you left-click onto an item - you select it. All actions available in the Tools and Edit menu take place on the selected items only. There is no exception to this rule. You can only select items in the same level. If you select items in another level, you loose the current selection. More than one item is selected by holding down the shift (for a continous selection) or the option key (usually the windows key located between control and alt, to the left of your space bar) for a non-continous selection. If you want to get rid of the whole selection, just click into empty space ...just what you would expect from working with other programs under BeOS!
You can also change the order of items. You do this by "drag-sorting". Just click onto an item and start dragging (while holding down the mouse button). All selected items will stick to your cursor and you see a red drop mark where you can drop them. Sound and drawings cannot be mixed of course. Normally you're in move mode, which means items will be removed from their original position and inserted to where you dropped them. But you can of course copy items by holding down shift (or any other modifier key for that matter) in the moment where you let go of the mouse button. It's pretty straight forward, really.
|
Alternatively to working with the mouse, you can make use of your keyboard. The x-sheet needs to be in focus of keyboard events. In BeOS, this is indicated by a blue focus frame. Just click into the x-sheet and it will be "in focus" or use the TAB key to cycle the focus until the x-sheet has it. Use the cursor keys on your keyboard to move around in the x-sheet. The blue cursor is always inbetween two items. Some keys help you to go to all important positions (like s will get you to the start frame (but only if there is an item at the startframe) or e will do the same for the end frame. Pos1 or End, the keys in the middle of the six keys above your cursor keys, put the cursor at the first or last item of the focused level. By the way, you can remove items from the x-sheet by hitting the delete key instead of selecting Edit->Clear, but if one of the Source Media lists is in keyboard focus, the delete key will remove all selected source items from the list. |
If you want to select items using your keyboard, just hold down shift while you move the blue cursor. The items it passes over will be selected (or deselected if they are already selected). Alt-X, Alt-C and Alt-V (cut, copy and paste) work as usual. Note that unlike Windows, BeOS comes preconfigured with the Alt key being the default key for keyboard shortcuts. You can change this in BeOS->Preferences->Menu. Last but not least, you can use the number keys to set the duration of the selected items, but watch out that you don't have Caps-Lock on. + and - make all selected items one frame longer or shorter.